How to Screen record on iPhone
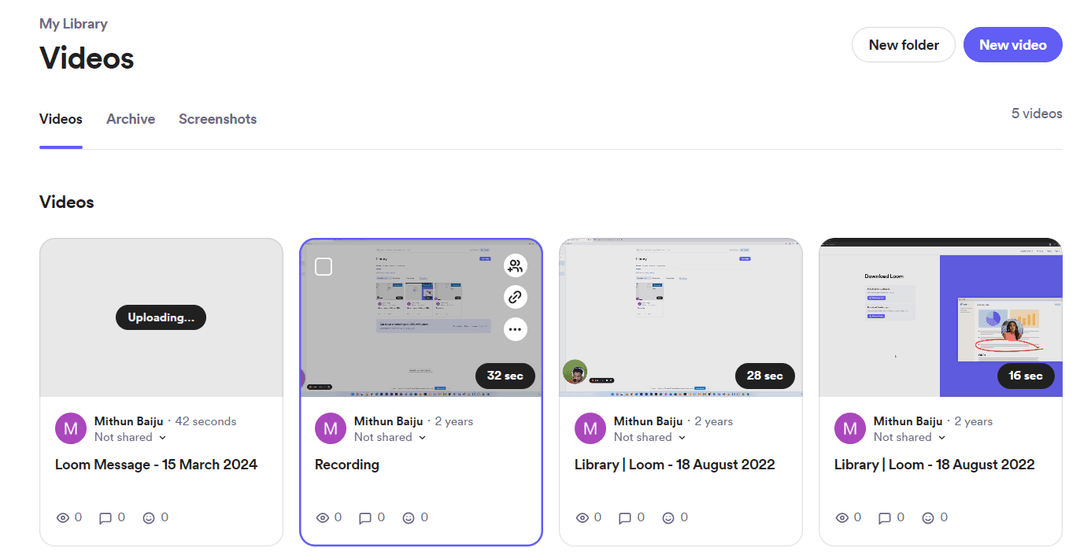
Back in 2019, when we were all confined to our home and transformed it into a small 'work from home' office, Loom and many similar screen recording and screen sharing applications have garnered quite a market online.
PRO: You can take screenshots if you need although there are several screenshot centric applications out there. But, if you have already installed Loom and want to take a quick snap of your screen, you can easily do it.
Apple Inc. is strict about its privacy and data sharing policies. No matter how you put it, getting files shared between other mobile operating systems such as Android and iOS is still a painstaking task.
People who are new to iPhones always end up searching “How to screen record on iPhone?”
To be honest, the iPhone does come packed with a screen recorder but the problem of file sharing still persists. You will eventually end up using cloud storage such as Dropbox.
With the cost of cloud storage increasing by the minute, you'd want a platform that'll take care of the cloud storage and screen recording without breaking a sweat.
The best part – such a platform completely eliminates the need to install any app or buy separate cloud storage space just to record and share your screen recordings.
In this tutorial, I am going to walk you through a process of recording your screen with just a browser application known as PepoRecord.
I have been using PepoRecord for quite some time now and I can tell you that it's a wonderful platform that comes with loads of features that you will need to enhance the workflow of your productivity and increase your overall screen recording experience.
Let's get started.
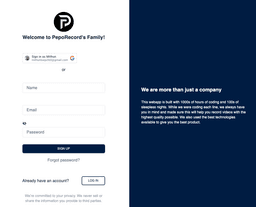
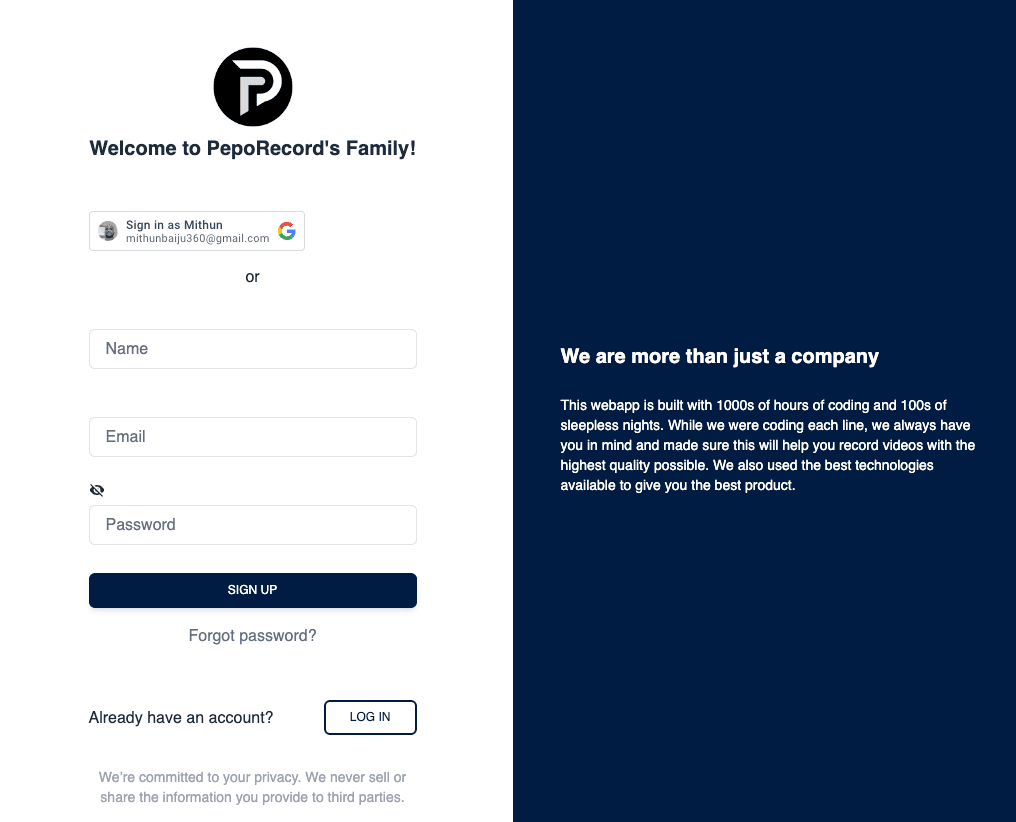
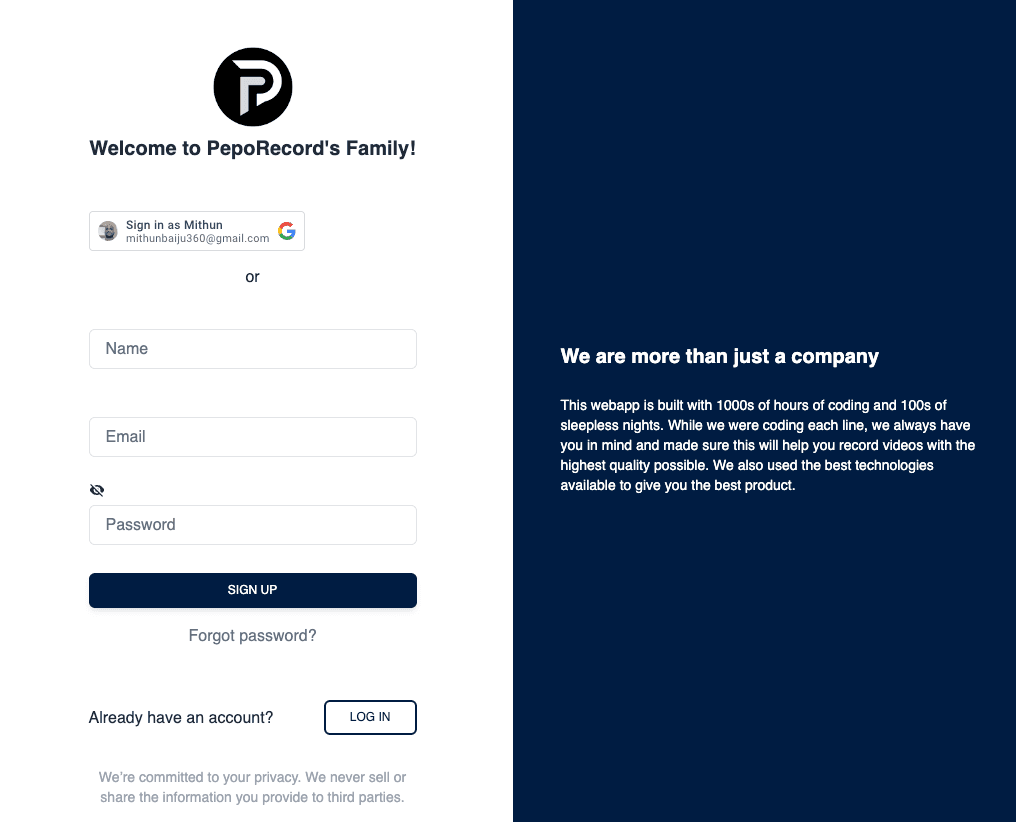
STEP #1: Head over to PepoRecord and sign up with an account. You can also use a Google account to sign up.
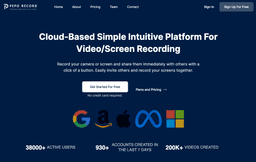
In case, if you are redirected to the PepoCloud page, you can just select the PepoRecord option from the menu and reach the login page of PepoRecord.
As you can see, you have an option to sign up using your Google Account as well. I prefer using my Google account to sign up as it is fast and hassle-free.
But if you want to use your work email, you can do that as well.
STEP #2: After your successful signup, you will be redirected to the login page. Login using your credentials, and you are ready to get started with the screen recording.
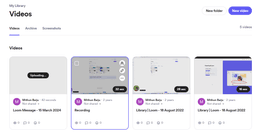
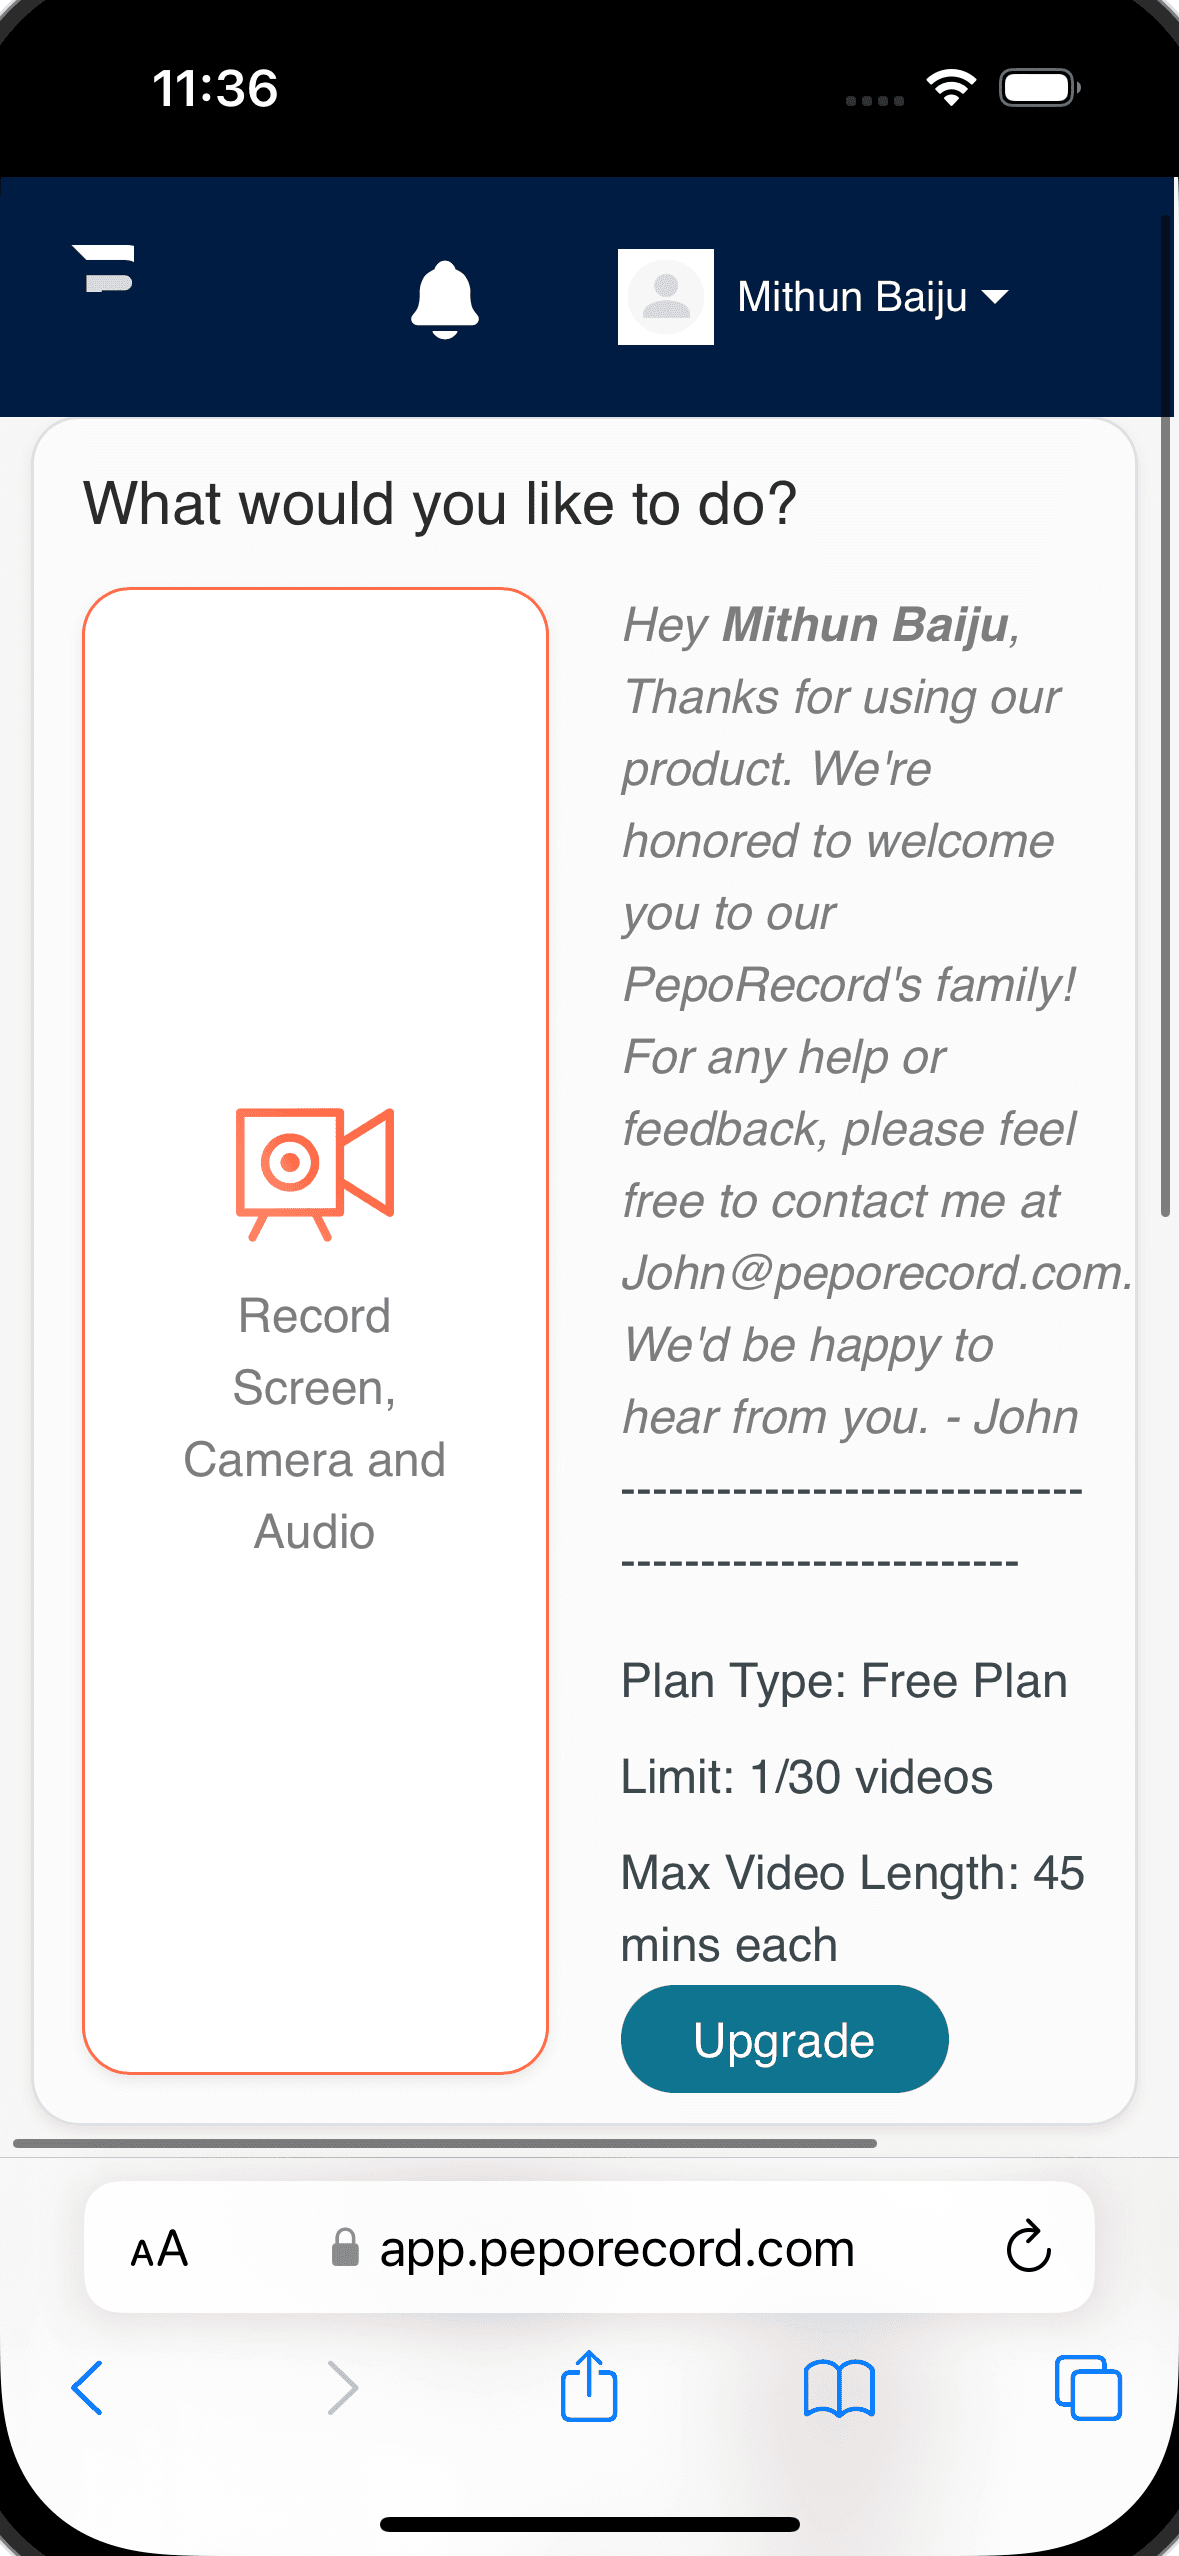
As you can see, you will see your plan details, video limits, maximum video length. Right beneath the plan details, you can see an “Upgrade” button. Don't worry you don't need to upgrade.
You can scroll down a bit and record your screen easily.
If you are on the free plan, you will not be able to store your recordings on the cloud, so will have to download your videos right away or else you will lose your recordings as PepoRecord doesn't store any recordings on the cloud on the free plan.
STEP #3: Once you click the record button, you will be redirected to the recording page where you can select which profile you want to record.
Screen + Webcam option lets you select both your webcam and screen. If you are creating any video tutorial for illustration purposes, this option will be the best option for you.
Audio only, if you are working with an audio only platform such as podcasting or voice over.
Camera + Audio option will let you only record your camera and system audio. This option is great if you are looking for a webcam video capture with your system sound.
Screen + Audio is the widely used setting. This is the only option you will need if you want to only record your screen and system sounds. This recording also sports the smallest video file which makes it the best option for file transfer.
STEP #4: Once you are done with your screen recordings, you can click the red “Stop Recording” button.
Once the recording is completed, you can watch the playback and review the recording. If you are satisfied with your recording, you can move to the next step.
STEP #5: In the final page, you will get the option to download and save your screen recordings in your local drive. If you want, you can also rename your file easily.
As mentioned above, you must download your recordings right away if you are using a free plan. If you have a premium account, you will be able to store your recordings on the cloud and access the recordings when you want.
If you want to save the files on the cloud, you will have to upgrade to the premium plan. For this tutorials' scope, saving the file to the local drive gets the job done.
Tips to improve your recording quality
Whenever you use any external application or online service to record your iPhone screen, you will have to approve the browser for recording.
Apart from that, here are a few tips that you can use to kick it up a notch with your recordings.
Close all the applications that are not needed in your screen recordings. This will help you in improving the performance of your screen recordings and avoid getting confused while recording.
Record your videos in a well-lit room with no background noise and disturbance. If you have poor lighting conditions, your webcam quality will suffer and the overall quality of your screen recording will drop significantly. Gone are the days when you could get away with uploading a subpar video online. Today everybody understands the importance of the quality of a screen recording and its correlation with the retention rate of the audience.
Hide all your personal information before you start recording your screen. Any personal information will be recorded and you will have to edit these details out after the recording is completed. Editing a video is a painful task for anyone who's not a tech geek. So, to avoid leaking your personal information online, it is always wise you hide all your personal information prior to recording your screen.
If your recordings are longer, compress them once downloaded to your local drive.
Some other platforms that you can use to record your screen on iPhone
Loom is my second favourite screen recording online platform out there. It's a bit slower than PepoRecord. Loom is a no-nonsense cloud-based application for beginners who're looking for a screen recorder for a couple of recordings. Also, you can save a few of your recordings online for as long as you'd want. The downside here is that Loom will place a watermark with Loom Branding at the bottom of your screen recordings.
OBS studio is an open-source streaming and screen recording application that you can install on your Windows/Linux/Mac computers. Unfortunately, it doesn't offer any mobile applications. So, if you strictly want an application to record your iPhone's screen, OBS is not for you.
Since OBS Studio is a desktop application, you will have access to many powerful features such as multiple audio inputs, video sources and many more. It is also widely touted as the favourite streaming software in the world.
The biggest downside to using OBS to record your screen is that it doesn't come packed with any editing tools. This means that you will have to edit your video files once you are done with the recordings.
Similar to OBS studios, ShareX is another great open-source solution for your screen recording needs. It comes with an installer for Windows that you can easily use to kickstart your offline recording sessions. ShareX comes packed with a bunch of screen capture editing and post-processing features that you can use to enhance your screen captures. Since it doesn't cost any money, you can just download the software and give it a test drive without facing any paywalls.
ScreenPal is an awesome screen recording application that doesn't require any sign up. All you have to do is head over to ScreenPal's official website and download the installer(it will take you to the App Store page) for your iPhone. Once the installation is completed, you can literally get started with your recordings.
The problem with ScreenPal is that you have to install an application just for the purpose of screen recordings.
Movavi Screen Recorder is another great screen recorder to screen record on Mac and Windows. I know you can't use it with smartphones but it is a noteworthy contender in the world of screen recording applications. Most of the time, you will search for a software or an online tool for screen recording. In such a case, there is Movavi Screen Recorder that can help you get the job done with ease.
Frequently Asked Question
Question 1: Do you need an online screen recording application when Apple already packs a screen recorder?
Ans: Yes, you do need an online screen recorder in many cases even though iPhones sport an in-built screen recorder. The benefit of using an online tool is the flexibility that it offers. With an online tool, you can share the recordings across platforms and operating systems, you are also not limited to iPhone's system restrictions.
Question 2: Will external screen recording tools slow my iPhone down?
Ans: No, external screen recorders that are browser based don't need any installation. So, there's minimal impact on the CPU resources of your iPhone while you are using the screen recorder application. Furthermore, online screen recorders don't run in the background after the usage is complete.
Question 3: What are the file extensions supported by PepoRecord?
Ans: At the time of writing this article, PepoRecord lets you export your recording files in the .mp4 format. MP4 is usually supported by all platforms online and offline. Mp4 is also supported by all media players available in your iPhone and any other smartphone.
Question 4: When should I upgrade to a premium plan on PepoRecord?
Ans: If you are going to use a recording tool regularly for work or business, it is a good idea to upgrade to the premium plan. With a premium plan, you can access the PepoCloud which automatically stores your recordings on the cloud. If you travel a lot, having the ability to access your recordings from anywhere is a great option to have.
Conclusion
In this article, I have shown you a step-by-step guide that you can use to screen record on iPhone easily. Since we are using PepoRecord screen recording platform, you can get started with your screen recording sessions easily.
With the step-by-step tutorial, I have also shared some personal tips that you can use to take your screen recordings to a whole new level.
I have also mentioned some free tools that you can use to record your screen on desktop and smartphones.
If you find this tutorial useful, make sure to share it with your friends. If you have any doubts or questions related to this tutorial or PepoRecord, please drop them in the comment section below.
Get a AI Form Generator
Create forms, publish it and start collecting data!
Join 3000+ people who use PepoForm.AI for form generation!
Related Articles
How to screen record on iphone?
Back in 2019, when we were all confined to our home and transformed it into a small 'work from home' office, Loom and many similar screen recording and screen sharing applications have garnered quite a market online.
How To Screen Record on Mac
Screen recording on mac has always been a challenging endeavour. Core problem lies with Apple..
Loom video: How to record them the right way?
You have been using Loom Video the wrong way this whole time. And, that's your recordings look unprofessional, laggy and of low-quality. There's a plethora of tweaks and precautions that you can take to make sure that your screen-recording looks professional.
