How To Screen Record on Mac
Screen recording on mac has always been a challenging endeavour. Core problem lies withApple and its restrictions over external software installation. In today's world, if you cannot use screen sharing or screen recording on your computer, you are missing out on a lot of opportunities. Since Apple doesn't pack screen recording software or tools in their Mac OS, how to screen record on Mac without installing an external software?
Don't worry we have you covered. In this tutorial not only am I going to show you how you can screen record on Mac but you will also not need to install any external software that could harm your computer. Believe me this tutorial will be so simple that anybody with basic computer knowledge will be able to follow.
I will also be answering some frequently asked questions and sharing some personal tips with you that you can use to hand your screen recordings.
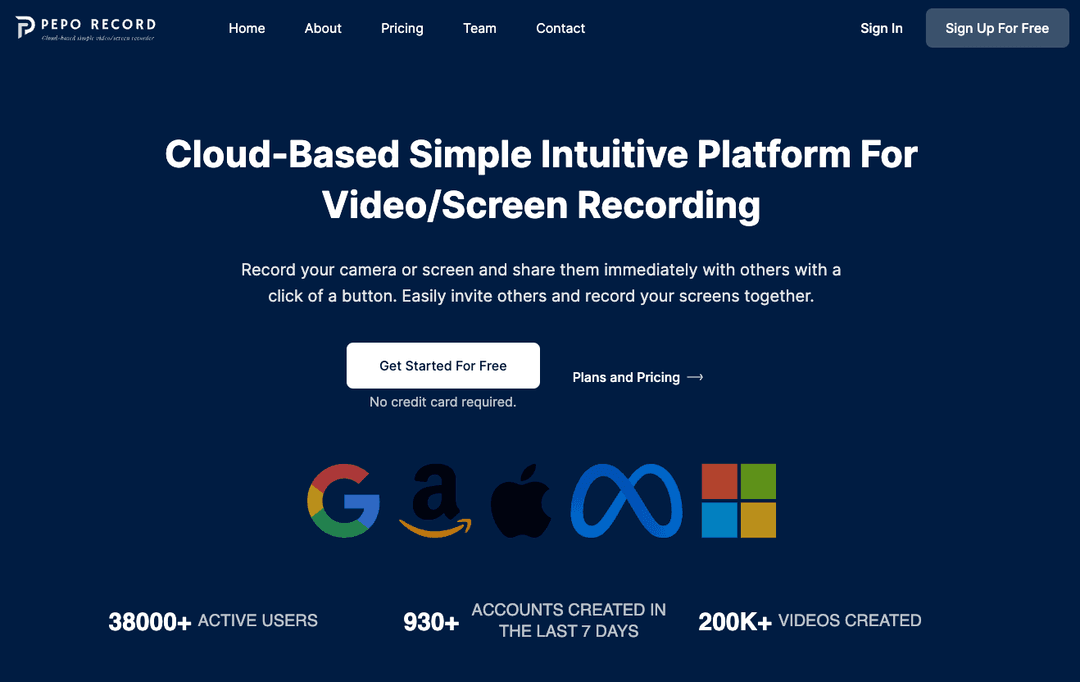
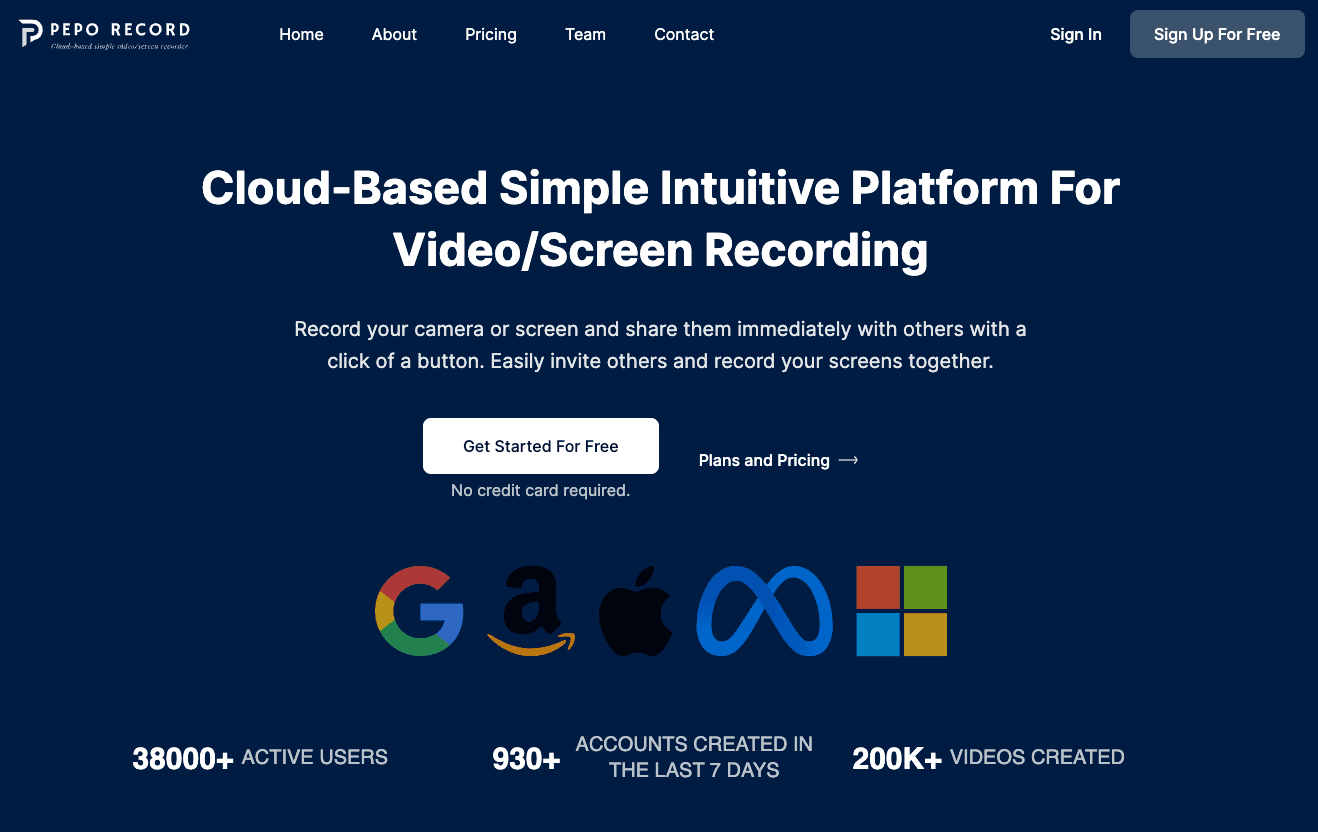
I am going to use an online screen recording application called PepoRecord that is completely free and you don't even need a credit card to get started. If you are planning on spending on the premium plans of PepoRecord, the free plan should be your first step. You can sign up for free and get started with your recording. You can also test the quality of the recording and even understand how various features work in tandem to offer an outstanding business screen recording experience.
So without wasting any more time, let's drive right into the tutorial.
How to screen record on Mac Computers Complete Step-by-Step Tutorial:
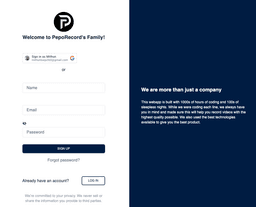
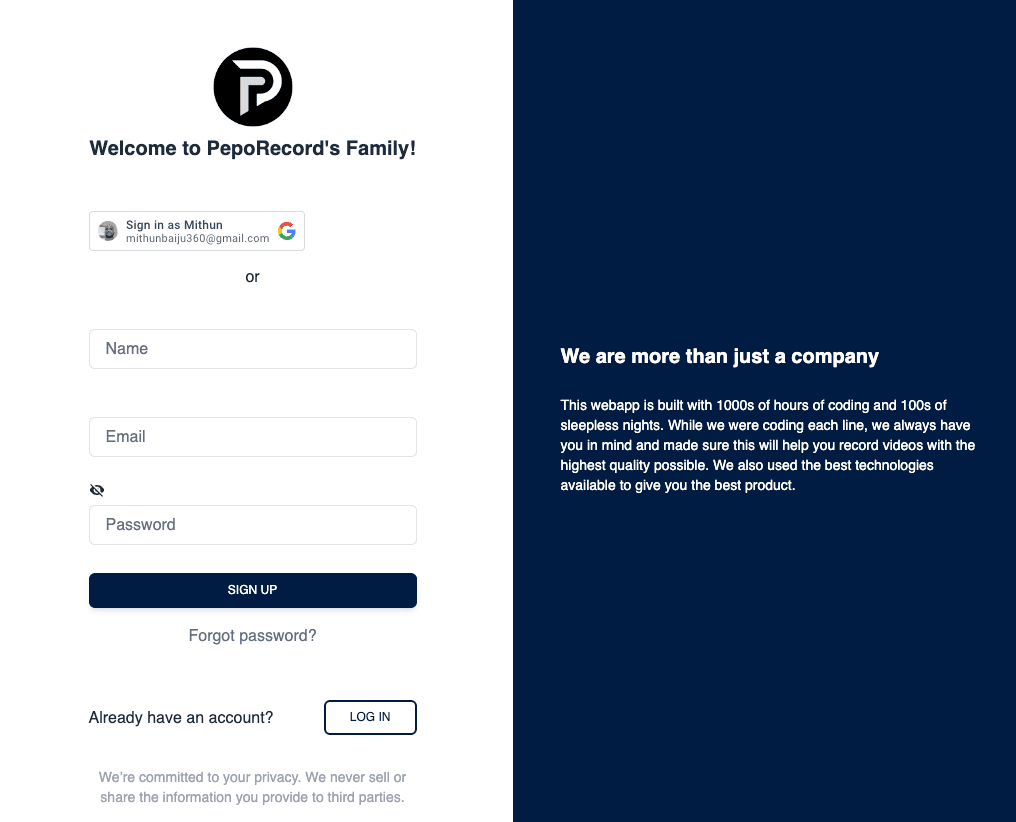
Although the sign up process is simple and straightforward, I would recommend you to complete the signup process using your Google Account. It is fast and will get you to the login process within a few minutes. I have used the Google registration option in this tutorial. If you want you can also use your email to sign up.
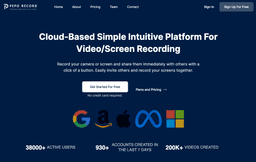
STEP #1: Head over to PepoRecord and get started with the registration for your free account.
Please note that you don't need any credit card or payment information to sign up for the free account. Only when you decide to upgrade, you will have to upgrade using your credit card.
Head over to PepoRecord and sign up using the link that appears at the top of the website.
This will redirect you to thePepoCloud Sign up page. You will be able to login using your login credentials. If you have used your email to sign up, you may need to verify your account before your login with your id.
STEP #2: You can instantly complete your sign up process using your Google Account or use your SSM email address to complete the user-registration.
STEP #3: After the sign up, please use the login credentials to sign into your free account.
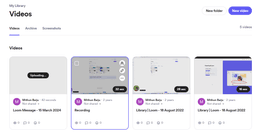
STEP #4: After your login, you will land on the recordings page. You can start your screen recording session by clicking on the “Start Recording” button location on the bottom section of the page.
If you want to check out the PepoRecord platform, you can scroll down and see your limits and other features. PepoRecord is designed in a way that there is no unnecessary information displayed on the homescreen. You should be able to start your screen recording sessions asap after you complete the user-registration.
STEP #5: Before your screen recording begins, PepoRecord will ask you to select the “window” that you want to record along with a few other settings. Select the option most suited for your need and start your recording.
STEP #6: Once your recording is completed, you will be able to finish the recording by clicking on the “Stop Recording” button.
STEP #7: The final page is where you will be able to configure your recording (Change name and add description) and download the recording.
Note that in the free plan, you don't have any online storage. This means that you will have to download all the files as soon as you complete the recordings. Since the files aren't stored online, you will lose your recordings once the window refreshes. If you want to store your files online by-default, you can easily upgrade to a premium plan.
Loom Vs. PepoRecord Vs. Techsmith Snagit
Let's say that you don't want to use PepoRecord for some reason. What are some alternatives and what are the pros and cons of using PepoRecord alternatives? Let's explore the top two screen recording applications that have been around for years and have a loyal user-base.
I am not going to dive deep into the comparison of the features. This gist of a comparison primarily focuses on the various competitive features offered by these alternatives.
Loom screen recording platform:
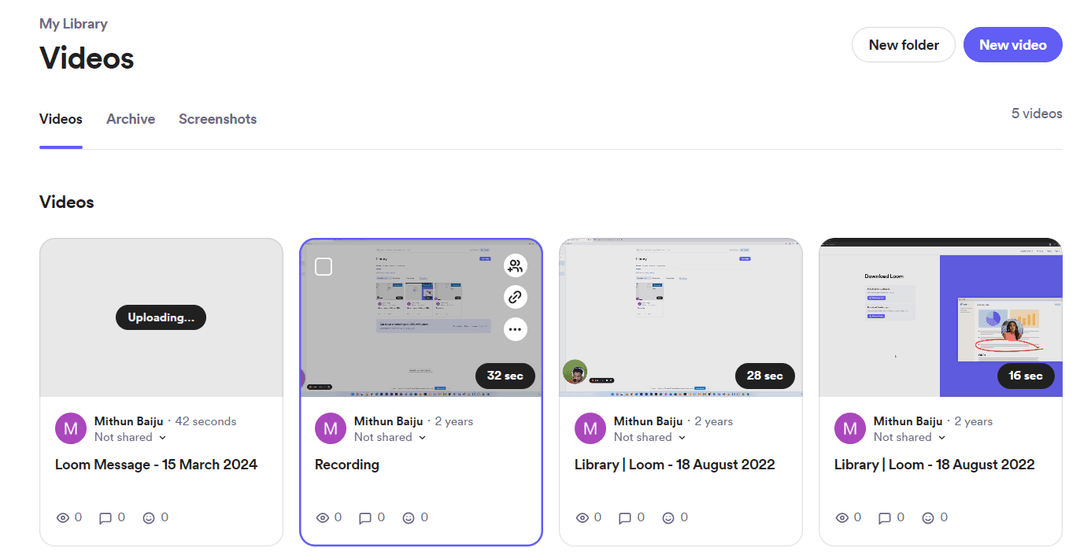
Loom is one of the oldest Online screen recording platforms out there. It comes with all the necessary features that you need to start recording your screen like a professional. The primary problem with Loom is that it has a few limitations that makes it a less desirable option. To list a few, you can only record less than 10 screen recordings and there is also a limitation on the length of the recording.
From my experience, Loom is a bit more resource hungry platform when compared with PepoRecord.
I have a MacBook Pro with just 8GB of memory and sometimes when I use Loom on Chrome browser, it freezes my browser and I have to literally refresh the browser or restart the same.
I was using the Webcam + Screen Capture + Audio from Mic option.
I am sure, in future they will optimise it to perform better on Chrome and other browsers.
If you are just using it for recording the screen or if you want to test Loom out, the free plan is sufficient.
PepoRecord screen recording platform:
PepoRecord is built with the latest technologies and the creators behind it saw a common issue with all the online recording tools – limited recording time and fewer recordings per user.
You get all the features that you get with Loom. On top of that, if you upgrade, you are welcomed with a suite of other online browser-based tools such asCRM, Employee Management solution, project management tool and of course, Peporecord. For the money you spend, this seems like a solid package that will help you manage your entire business.
Techsmith Snagit:
Snagit was my first screen capturing and recording platform. You have to install Snagit on your computer and it will only work on your computer. Although they offer cloud upload features, its' not suitable for serious business operations because you are dealing with an offline software.
The one section where Snagit over-powers every online screen recording platform is the video editing capabilities.
Although you don't get an extensive video editing suite, you still get enough editing features which you can use to edit out errors and make your video look professional.
Frequently Asked Questions: How To Record Screen on a Mac
Question #1: What's the difference b/w Screen record with audio on Mac vs. Screen recording without audio on Mac?
If you are not creating any online tutorial, it doesn't actually make any sense to use your audio while your screen recording. But if you are somebody who actually creates a lot of tutorials or illustrations to demonstrate how a particular software or tool works, enabling audio recording while recording the screen of your Mac is preferable.
From a technical point of view, the screen recording with audio enabled will always have a larger file size as compared to the screen recording which does not have any background voice of narration. If you are somebody who doesn't want to deal with large files and painful cloud storage price hikes, you may want to remove background voice out of your recordings.
So, the real question is, “Who should use the audio enabled recording feature?”
If you create tutorials or share screen recordings that need some level of explanation, you should definitely use the ‘Audio + Screen Capture' option. In fact, if you use this setting, you will not have a need to record your narration or walkthrough later down the line.
Question #2: How can you improve the quality of screen recording on Mac?
We all know that Apple computers are generally optimised and help you export high quality video recordings. So you don't really need to worry about screen recording video quality if you're using a Mac computer. That said, if you are still worried about the quality of your screen recording, you can make sure that you don't have any application or software open that you don't want everybody to see. You can switch to a generic wallpaper that comes back with Mac computers and organise your files on the desktop to look a bit professional.
If you are recording your voice using a microphone, make sure that there is no background noise and disturbance. Background noises will completely ruin the overall quality of your screen recording. Keep in mind that audio plays a very crucial role in holding your screen recording in place.
Question #3: Can you share these screen recordings with other Operating Systems such as Windows and Linux?
Yes, if you use PepoRecord to record your Mac screen, you will be able to download the video file in .mp4 format and share it with anyone you'd like. In fact, you can also upload it to iCloud or Google One or Dropbox. Since PepoRecord uses your browser to record your screen, it doesn't matter which operating system you are using. As long as you have a working browser, you will be able to record, download and share your recording with someone using a different operating system.
Question #4: What's the best screen resolution for all platforms?
For me, 1920x1080 is widely used today but it all depends on the monitor you are using. I use a 4K monitor. So, if you are also using such a monitor, you can screen record at the same resolution. To be honest, you don't need such high-resolution recordings. You will be able to produce awesome quality screen recording with just Full HD resolutions.
We are talking about business usage. Businesses usually don't use more than HD resolution for illustrations and demos.
Furthermore, if you are recording at 4K resolutions, your export file will be of larger size. Even for businesses that record and upload multiple screen recordings on cloud, the cloud storage cost is not worth it. A single 10 minute screen recording at 4K resolution will get a video file of more than 5 GB. That's a huge file. Imagine your business has to record more than 1000 screen recordings/month. You will be spending $3000+ on just cloud storage.
Conclusion: How To Record Screen Mac
In this tutorial I have shown you how you can easily record your screen with the help of PepoRecord software. PepoRecord is an online cloud based application that lets you easily record your computer screen on Mac.
Since there is no software installation process involved, using PepoRecord will not cause any performance drop in your Mac. You can use PepoRecord from when you are in this world and if you upgrade to the premium plan, you also have the ability to store your recordings on the cloud.
Because they have used the latest technology to build this free recording platform, the performance of the centre platform is fast and there are no overwhelming settings that you need to configure in order to start your recording.
After the sign up process, you can easily get started with the recording within 10 seconds. It is that simple.
Let me know in the common section what do you think of this tutorial and how it will help you in tackling a lot of screen recording related problems.
Get a AI Form Generator
Create forms, publish it and start collecting data!
Join 3000+ people who use PepoForm.AI for form generation!
Related Articles
How to screen record on iphone?
Back in 2019, when we were all confined to our home and transformed it into a small 'work from home' office, Loom and many similar screen recording and screen sharing applications have garnered quite a market online.
How To Screen Record on Mac
Screen recording on mac has always been a challenging endeavour. Core problem lies with Apple..
Loom video: How to record them the right way?
You have been using Loom Video the wrong way this whole time. And, that's your recordings look unprofessional, laggy and of low-quality. There's a plethora of tweaks and precautions that you can take to make sure that your screen-recording looks professional.
